Recently, one of the local agents I work with picked-up a vacant listing that I had just staged. She signed with my client after I had staged, and to her surprise that property was ready to go live! But, her photographer was booked out for the next five days!
She follows me on IG and remembered how much she liked my photos I post there, and because I always send her sneak peeks of the property after I stage them, she knew that the photos were ones I took. So, she reached out and asked if I could forward any of the pictures I took of the property.
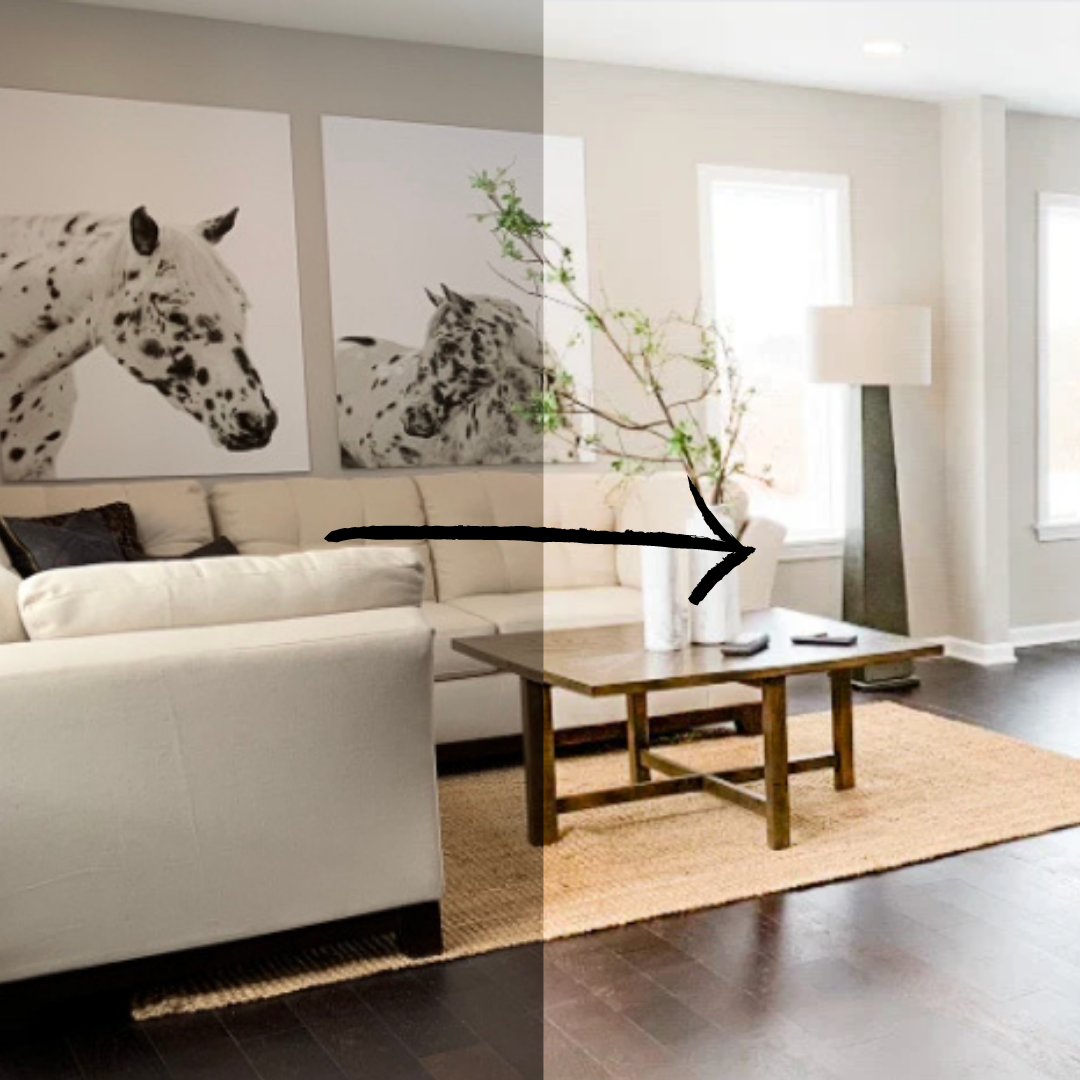
I too couldn’t afford to hire a photographer for each staging job I did. So, I found some photo presets and started loving how my pictures looked. As time went on, I felt the presets were missing something. What I soon realized was the presets I had were meant for lifestyle photos, not interior design/interior room photos. So, I designed my own photo presets to enhance my interior photos…game changer!
We thought you might want to learn our top tips for setting up that perfect shot to take on the fly when you finish staging up that house:
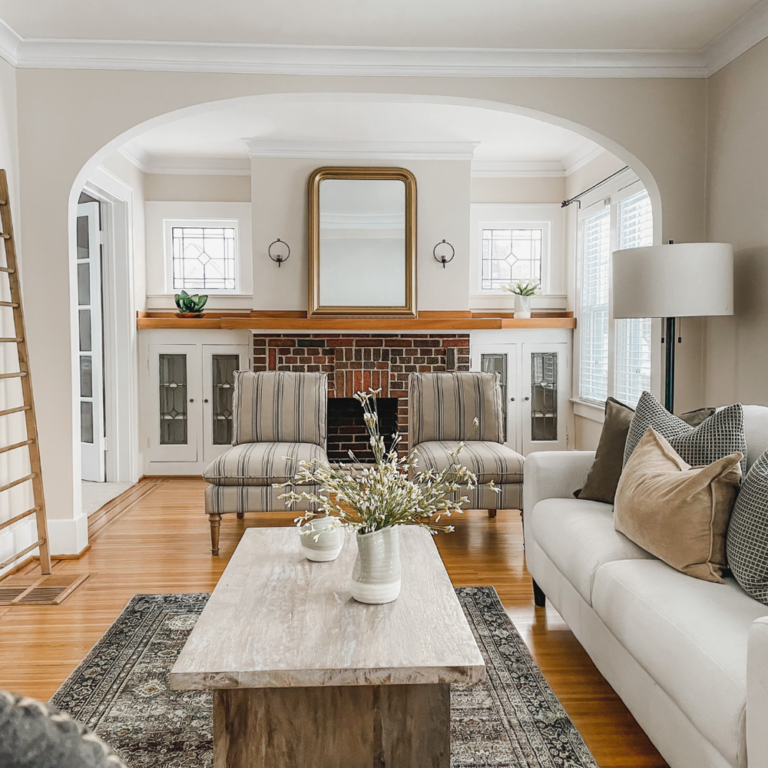
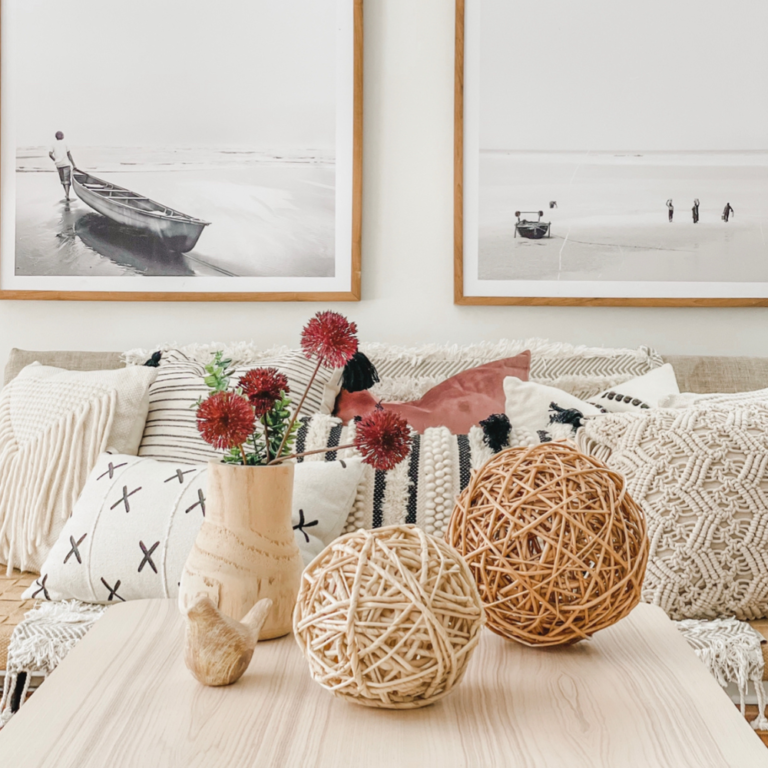
- Don’t try and get everything you see in the room in the shot [or if you do crop it]. Taking more of a vignette approach to a room makes it feel cozier and attainable
- Overcast days are awesome for interior shots, that way you won’t get any sun shadows on the walls, art or furniture
- When using the TORRIE interior photo preset, it is preferred to have the lights off, overhead and ambient. Yup, you read that right, lights off! Our preset enhances not only the coloring but brings the dark look of the room up several notches


