From crickets to booking in three hours.
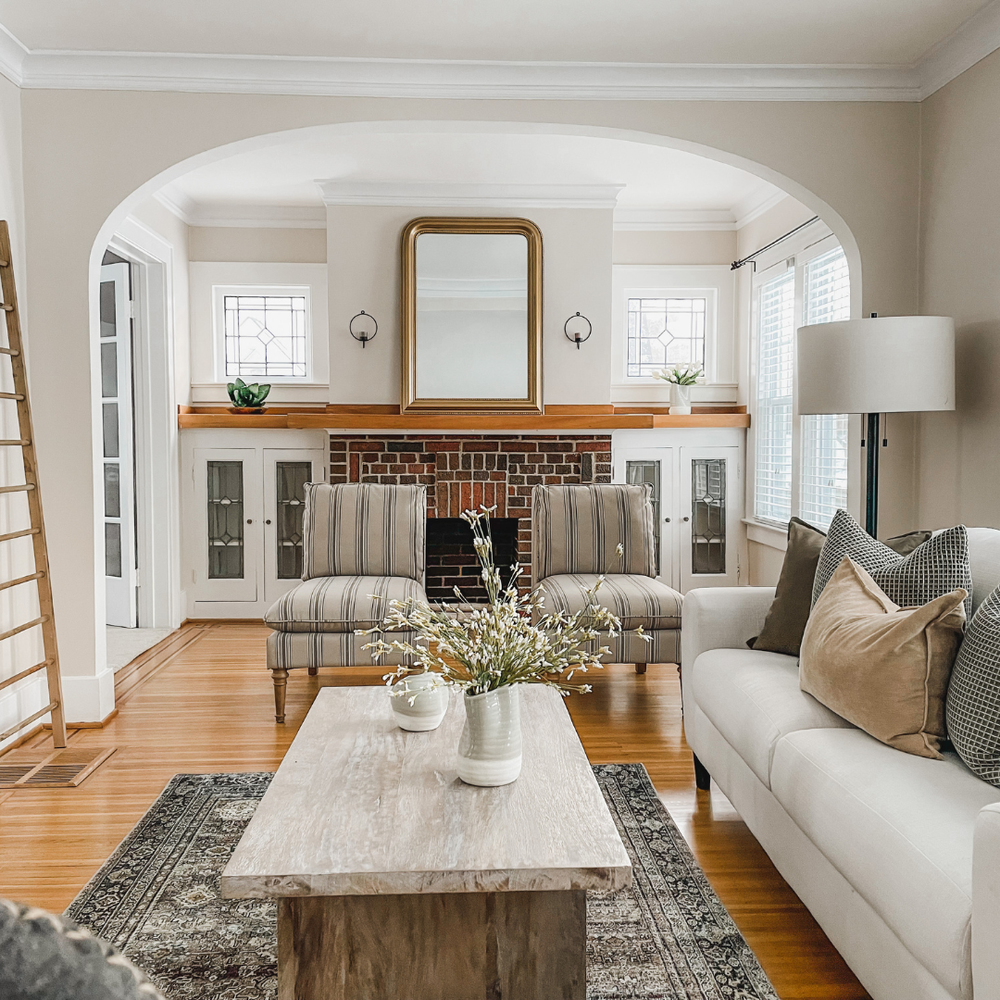
We recently finished the design + furnish + install of one our clients AirBnB’s. It was a long road, but we made it to the finish-line! We could not wait to get photos and share our work. I took my own photos as I always do. I’m getting pretty good and I don’t have to worry about getting permission from the photographer or anyone for publishing.
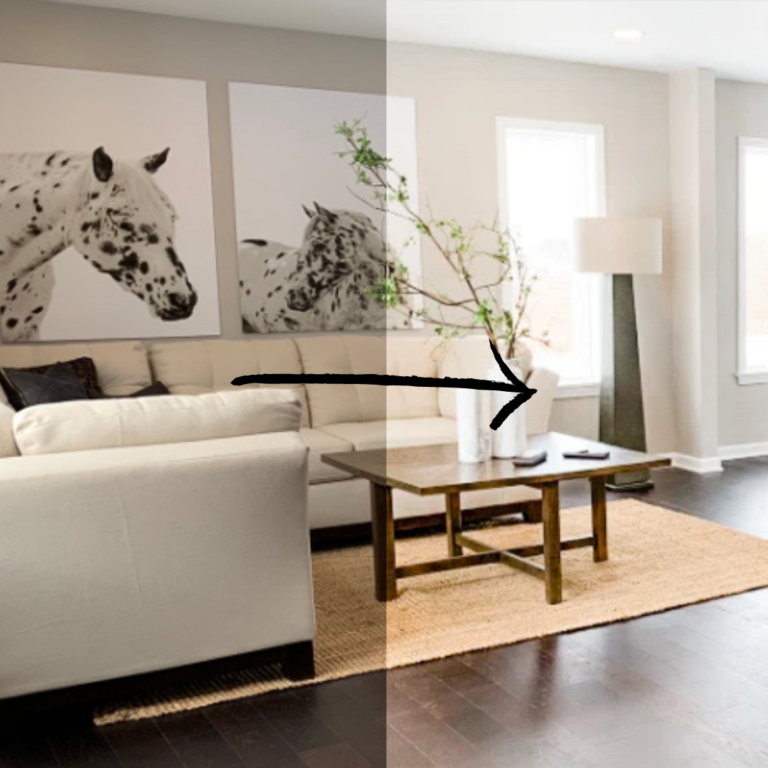
When I peeked at my client’s AirBnB listing, I was a little bummed at how the space looked and flowed in the photos. They were dark and flat. I hadn’t finished editing my pictures, but I knew there was a huge difference between mine and his. My photos looked like the space felt. You know as well as I do, this is HUGE for AirBnB’s.
Soon after mentioning to my client that I had taken some decent photos, he shared with me that he had not booked one night of the unit since it had gone live 5 days prior. WHAT!!! This space [in my humble opinion] is BEYOND gorgeous. How could that be, it was even slightly underpriced.
After uploading the photos I sent his way, within 3 hours… he started to get his first bookings!!
Here are our top tips for getting your AirBnB photo’s:
- Do not use a fish-eye lens, this distorts the room terribly
- In addition to taking in a good portion of the room, use the rule of thirds [see our staging blog to get more info on this super useful photography strategy]
- Using an interior photo preset enhances the photos to give a professional, polished look. Make sure the presets are intended for interior use.
Good luck and get ’em booked!!


